For the articles on this site, I often create subdomains for testing. This is neither safe nor secure and a mistake could take down my entire domain. Therefore, I purchased another domain just for testing: jhanley.dev.
This article covers purchasing a domain name with Google Domains and setting up G Suite for email. This includes the necessary DNS setup. I will use my existing G Suite account and I will create a domain alias and not pay for another G Suite email domain.
Step 1: Is your domain name available?
This step uses Google Domains. You can use any domain registrar as the steps are very similar. I prefer to use Google Domains for resources on Google Cloud and Google G Suite. I would use AWS Route 53 for resources on AWS. This makes account and resource verification easy by keeping resources with the same account ownership together.
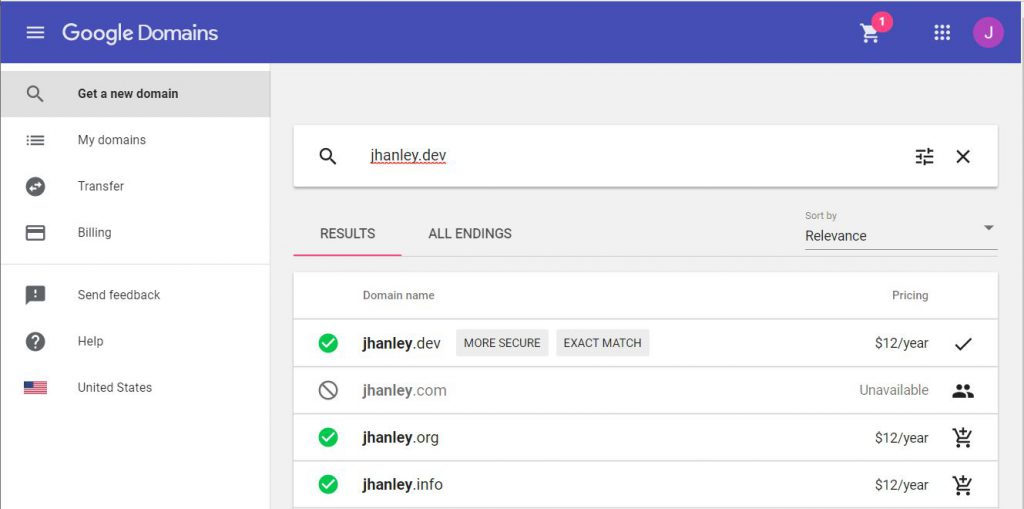
Go to Google Domains. Enter your desired domain name in the “Search for a domain name …” box. If your desired domain name is available, you will see a price for the domain name and a list of similar names. If the domain name is already taken, you will have to either make a bid to purchase the name (not covered by this article) or select a different name. The domain name jhanley.dev is available, the cost is $12.00 per year. Click the “shopping cart” icon to add this domain name.
Step 2: Pay for your domain name
Once this domain name is in the shopping cart, click on the shopping cart. A warning is displayed for my domain name type (.dev) that an SSL certificate will be required. I like this as I believe that all websites should only support HTTPS.
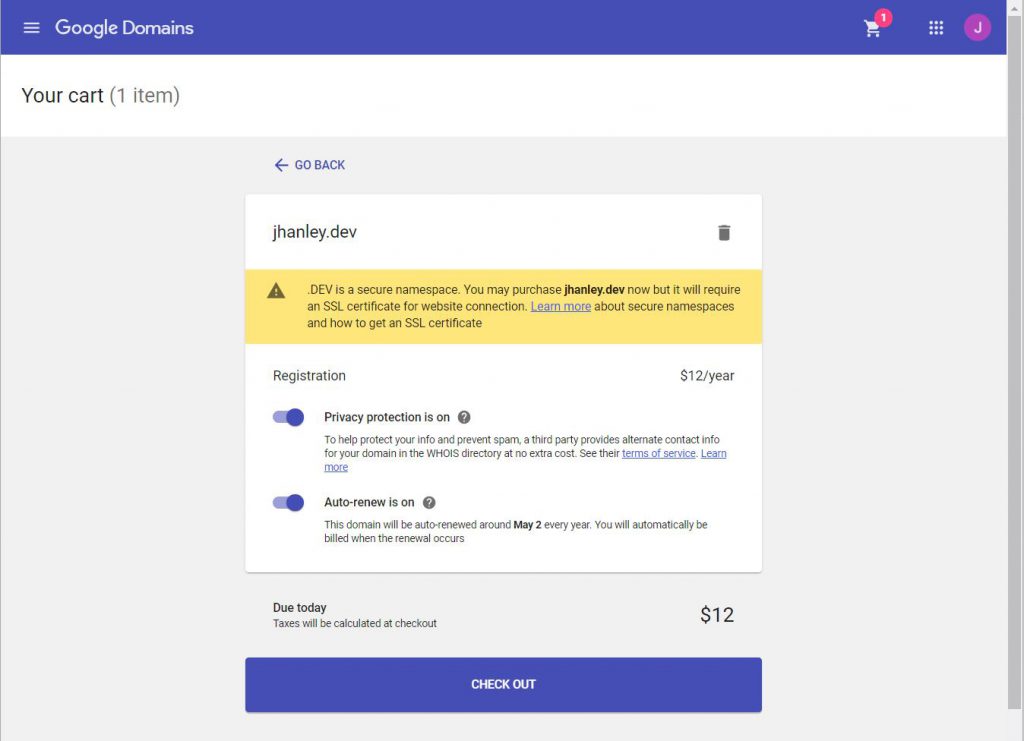
Complete the form with your identity information. Double check it now as changing it later might be difficult if your contact information is wrong.
Enter the payment information. My total with sales tax is $13.20.
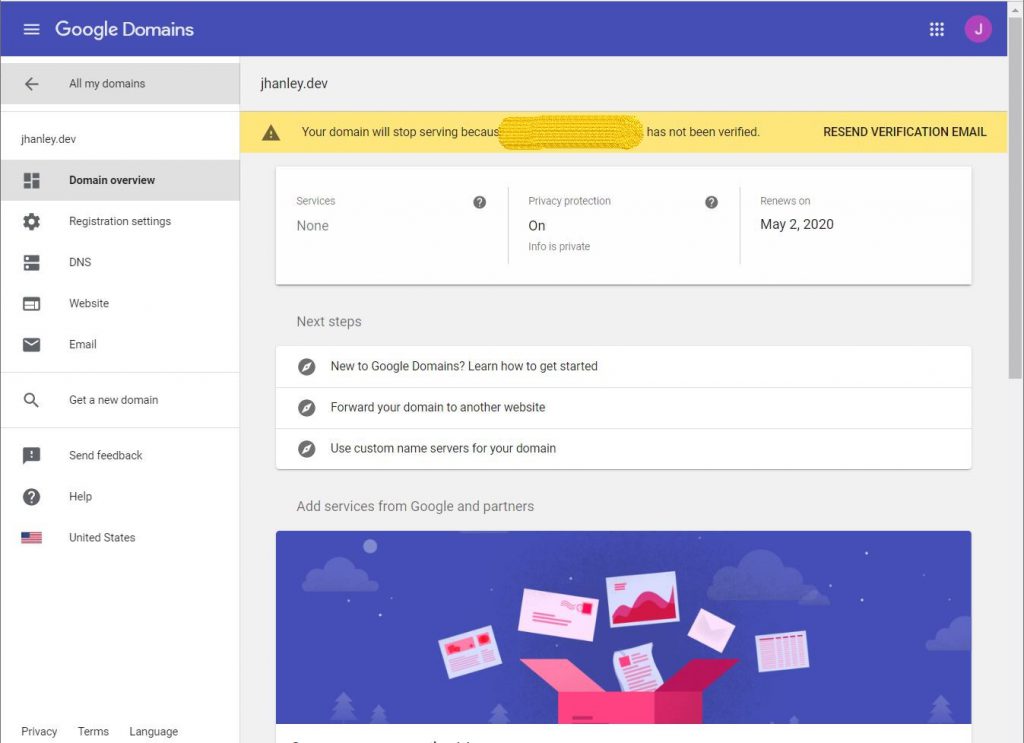
Once they have processed your payment, you will receive an email requiring verification of the registered email address. Do not forget to complete this step.
Step 3: Setup Email
I use Google G Suite for my domain jhanley.com. I don’t want to pay for another G Suite account, so I will make jhanley.dev a domain alias for jhanley.com.
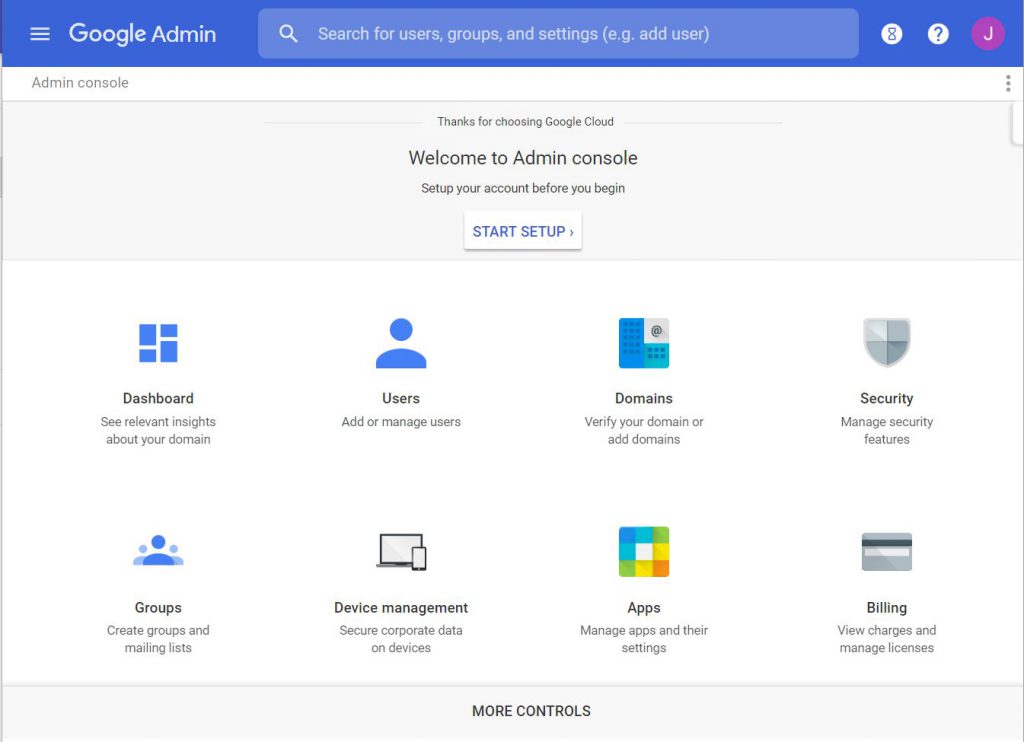
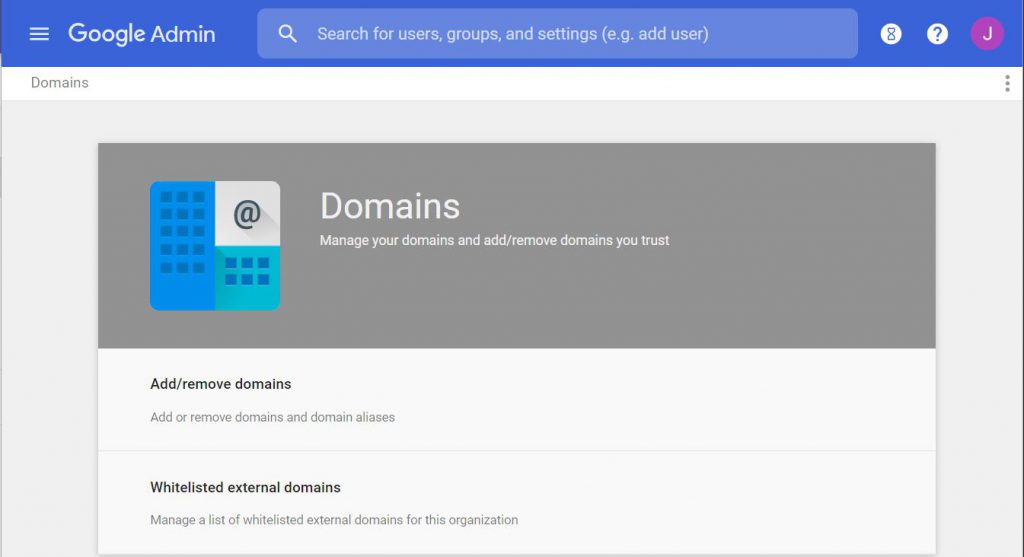
Go to the Google G Suite Admin page: https://admin.google.com/. Since I already setup my account up, all I need to do is go to “Domains”.
Now select “Add/remove domains”.
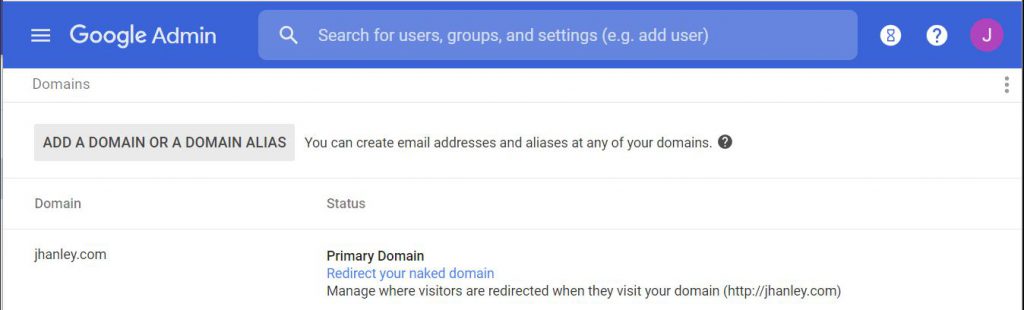
Click on “ADD A DOMAIN OR A DOMAIN ALIAS”.
Select “Add a domain alias of jhanley.com”. In Enter a domain alias enter jhanley.dev.

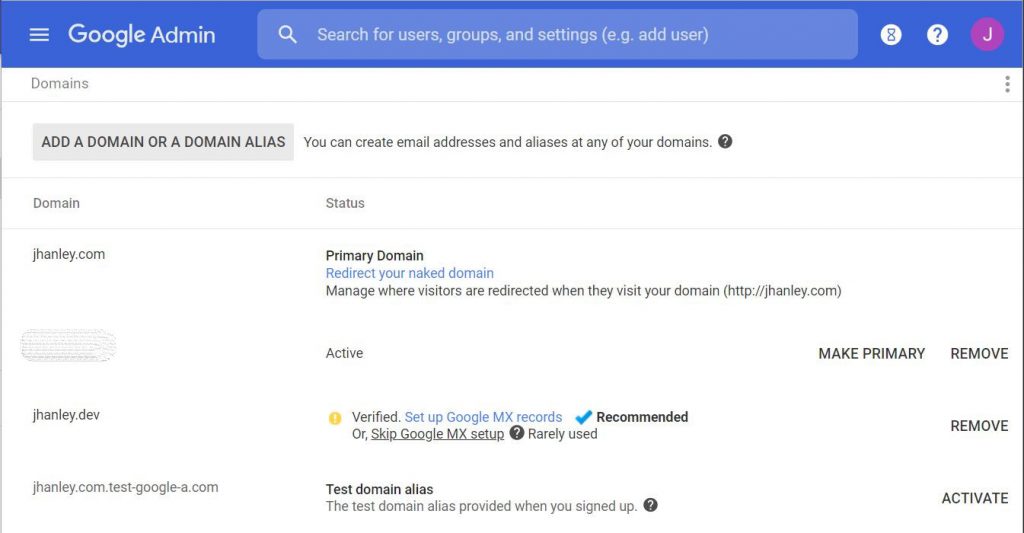
Press “CONTINUE AND VERIFY DOMAIN OWNERSHIP”. Since I purchased the domain from Google Domains, verification was automatic.
Step 4: Setup Google MX Records
DNS MX (Mail Exchange) resource records are how the Internet finds your email service. I now need to set up the DNS records for email.
Click the link “Set up Google MX records”.
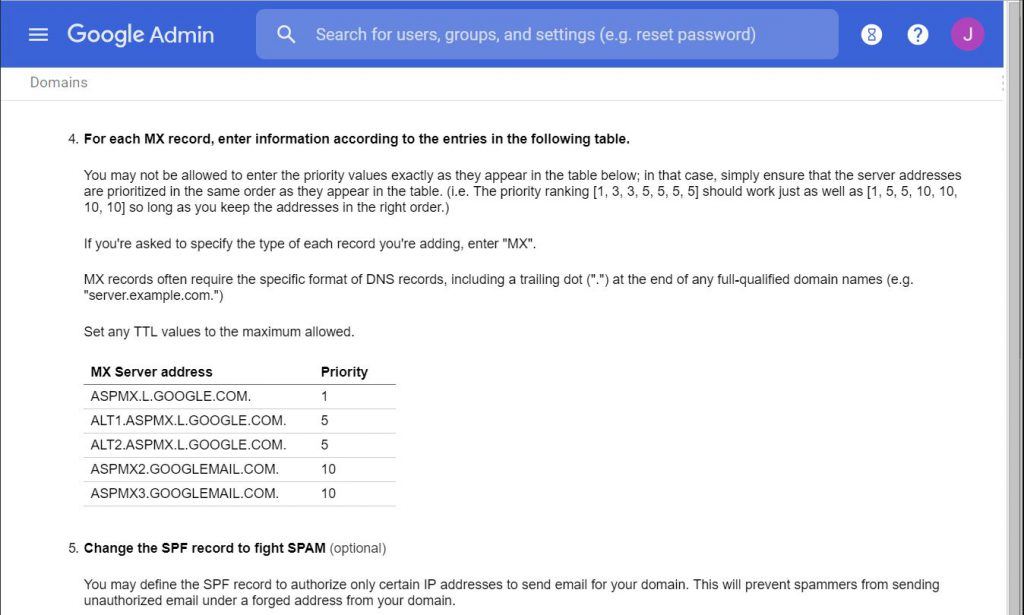
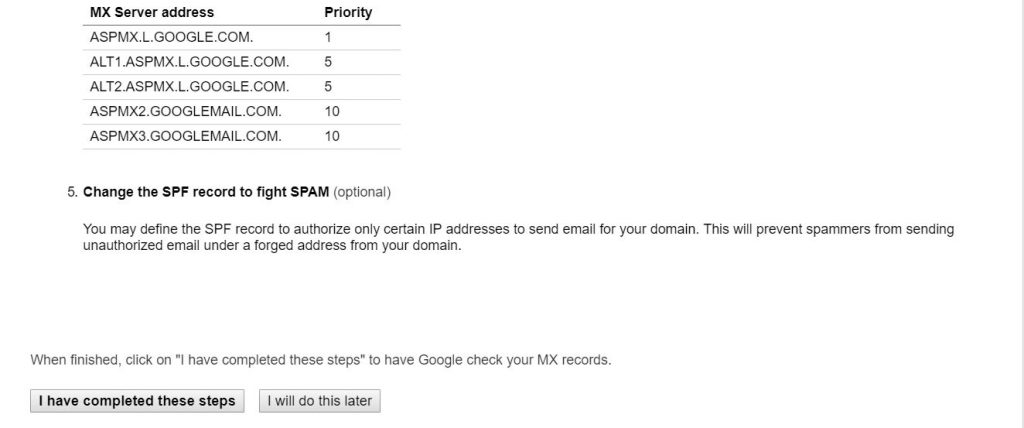
Instructions are displayed to set up the MX records. What I find interesting is that Google does not display itself as a hosting company. If it did, Google G Suite could automate the DNS MX resource record setup.
Make a note of the “MX Server address” records.
Go back to the Google Domains website. Click on the DNS tab.
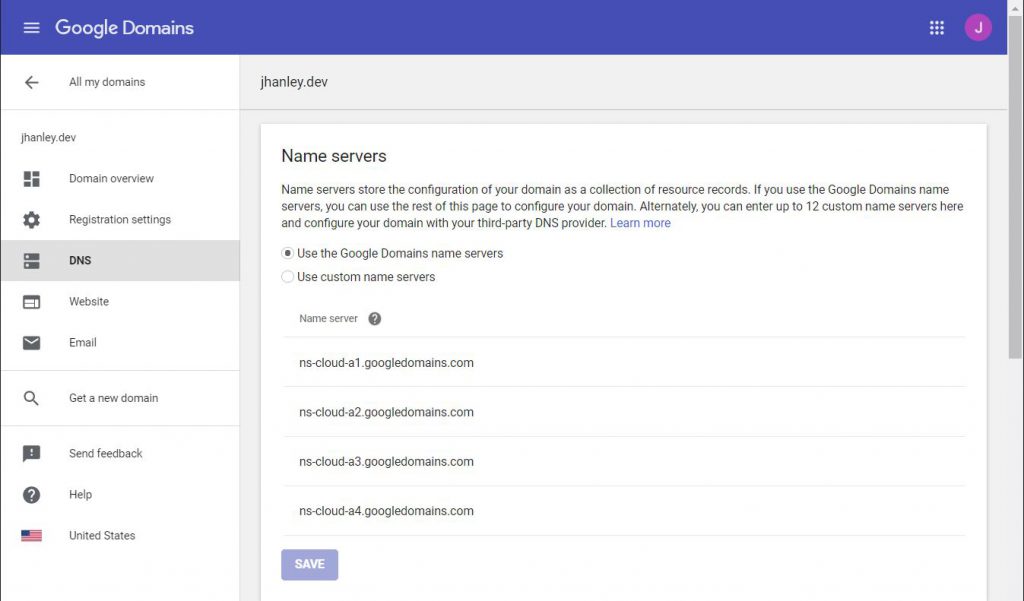
Google Domains sets you up with default DNS servers. Since I need nothing fancy I will use the default servers. Later I plan to change DNS servers to Google Cloud DNS which means another article on how to change DNS servers. You could even use Google Cloud DNS with AWS Route 53 to increase your global DNS server footprint and fault tolerance.
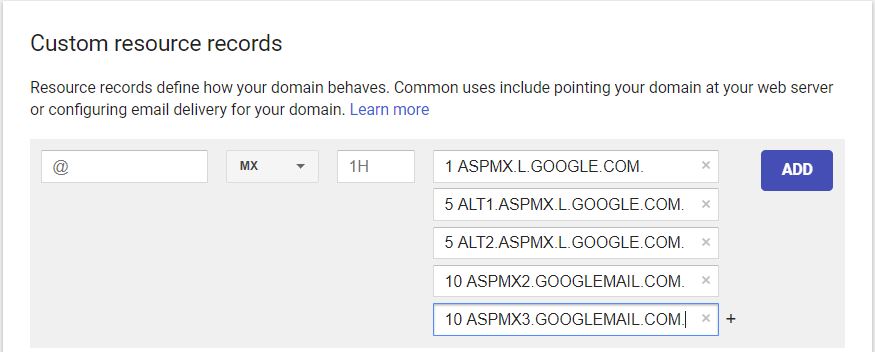
Scroll the page to “Custom resource records”. Enter the MX records. Notice how each entry is added to one DNS resource record. Also, note that the “period” at the end of the DNS name is required.
Go back to Google G Suite and press “I have completed these steps” on the screen that displays your MX resource records.
Once the records are set up, you will need to wait a few minutes (about 10) before testing email.
Step 5: Validate domain setup
There are several services on the Internet that can help us check and diagnose problems with our domain names, DNS servers and DNS resource records.
G Suite Toolbox: Check MX
Go to https://toolbox.googleapps.com/apps/checkmx/. Enter your domain name, for my setup: jhanley.dev.
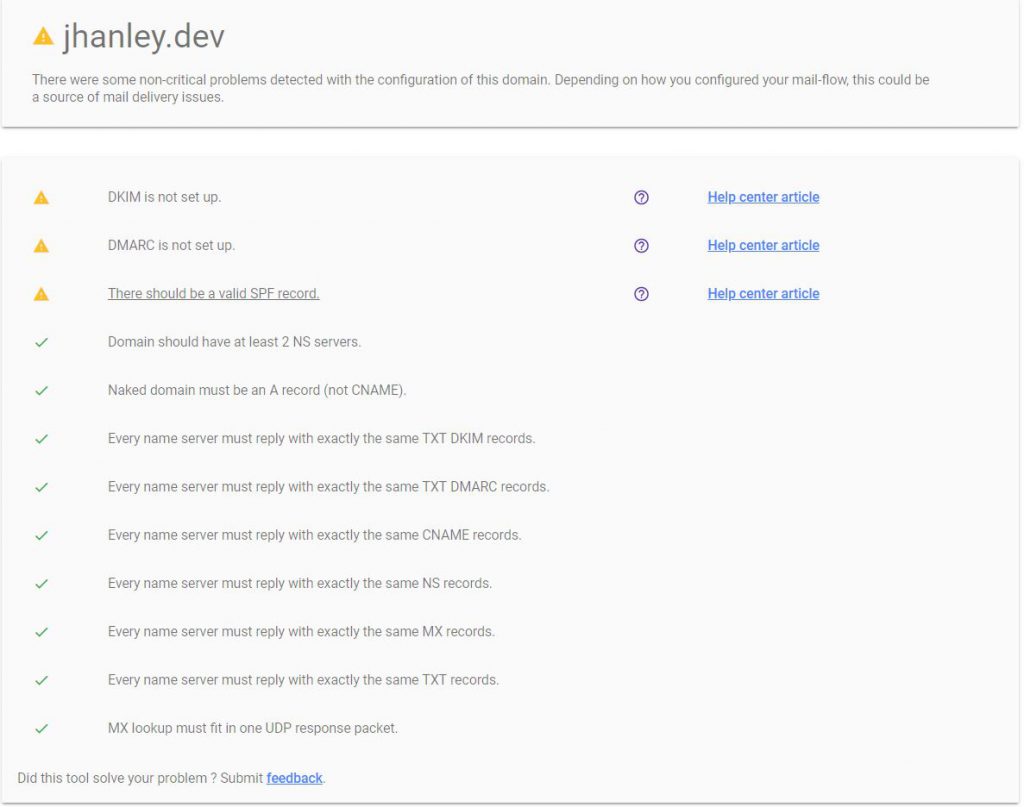
Notice we have three issues with jhanley.dev:
- DKIM is not setup
- DMARC is not setup
- Missing SPF record
More information:
- About DKIM – Enhance security for outgoing email (DKIM)
- About DMARC – Enhance security for forged spam (DMARC)
- About SPF – Authorize email senders with SPF
I recommend setting up SPF first, then DKIM. Wait 48 hours. Then consider setting up DMARC.
SPF is easy to set up and is just a DNS TXT resource record that looks like this for G Suite (link):
v=spf1 include:_spf.google.com ~all
For Office 365 a typical SPF TXT record looks like (link):
v=spf1 include:spf.protection.outlook.com -all
Notice that G Suite uses a tilde character where Office 365 uses a hyphen character for ~all.
The difference between a hyphen and tilde character:
-Fail, an IP that matches a mechanism with this qualifier will fail SPF.~SoftFail, an IP that matches a mechanism with this qualifier will soft fail SPF, so the host should accept the mail, but mark it as an SPF failure.
DKIM is also easy to set up. However, the TXT resource record is created by G Suite or your email server. A typical DKIM TXT record looks like this:
"v=DKIM1; k=rsa; p=MIGfMA0GCSqGSIb3DQEBAQUAA4GNADCBiQKBgQCWL0qToiY21Mc/+uY+17Wto9FZJdnP60BdHqv8IH1GRmtSnmIXf4yBlLbWNwCVB1FAq9Df+ZZwXqNW/QARtC9eLmOEqWyYTzIJsVWm86lEEwfM/QRUq+rKwU3XtkAstTrGp9H6bunyi4XaseHIwxZHOSzintiS4kQam62sZRCvEwIDAQAB"
DMARC has several considerations and I will cover DMARC in another article. A typical DMARC TXT record looks like this:
"v=DMARC1; p=none; rua=mailto:postmaster@jhanley.dev;"
I will cover setting up these features in separate articles.
Later, when we get to my article on Google Cloud Run SSL Certificates and HTTPS, we will discuss the details for DNS CAA resource records.
My next articles in this series
Summary
Now I have a new testing domain setup that can receive email. We will use this domain for my next series of articles on Containers, Cloud Run and Kubernetes.

I design software for enterprise-class systems and data centers. My background is 30+ years in storage (SCSI, FC, iSCSI, disk arrays, imaging) virtualization. 20+ years in identity, security, and forensics.
For the past 14+ years, I have been working in the cloud (AWS, Azure, Google, Alibaba, IBM, Oracle) designing hybrid and multi-cloud software solutions. I am an MVP/GDE with several.
Leave a Reply